This part is just a really old sample of work - So if you reached this page, notice it was made more than 10 years ago.
Esthar - 3D scanning with Skanect

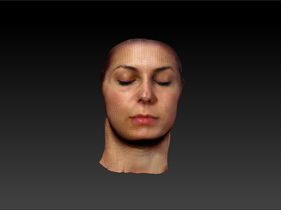
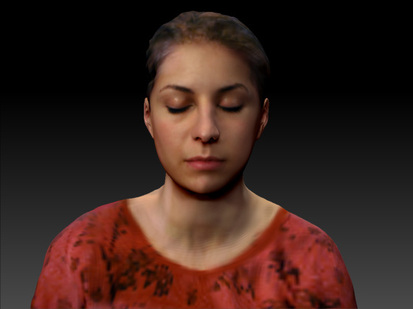
Let's see the breakdown of the images I got using the Kinect Scan.
3D scanners are a powerful tool now used for scanning just... everything you can imagine, from the tiny mechanic piece wich can be seen by a laser scan to the big scanners used to Scan huge buildings. Now we have the chance of having a cheap scanner at home, hardware under 100€ with an extra money and software from diverse companies wich are using this amazing technology.
3D scanners are a powerful tool now used for scanning just... everything you can imagine, from the tiny mechanic piece wich can be seen by a laser scan to the big scanners used to Scan huge buildings. Now we have the chance of having a cheap scanner at home, hardware under 100€ with an extra money and software from diverse companies wich are using this amazing technology.
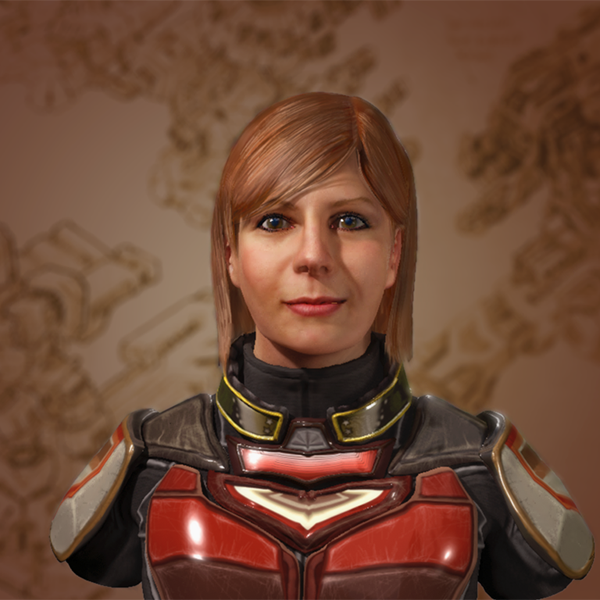
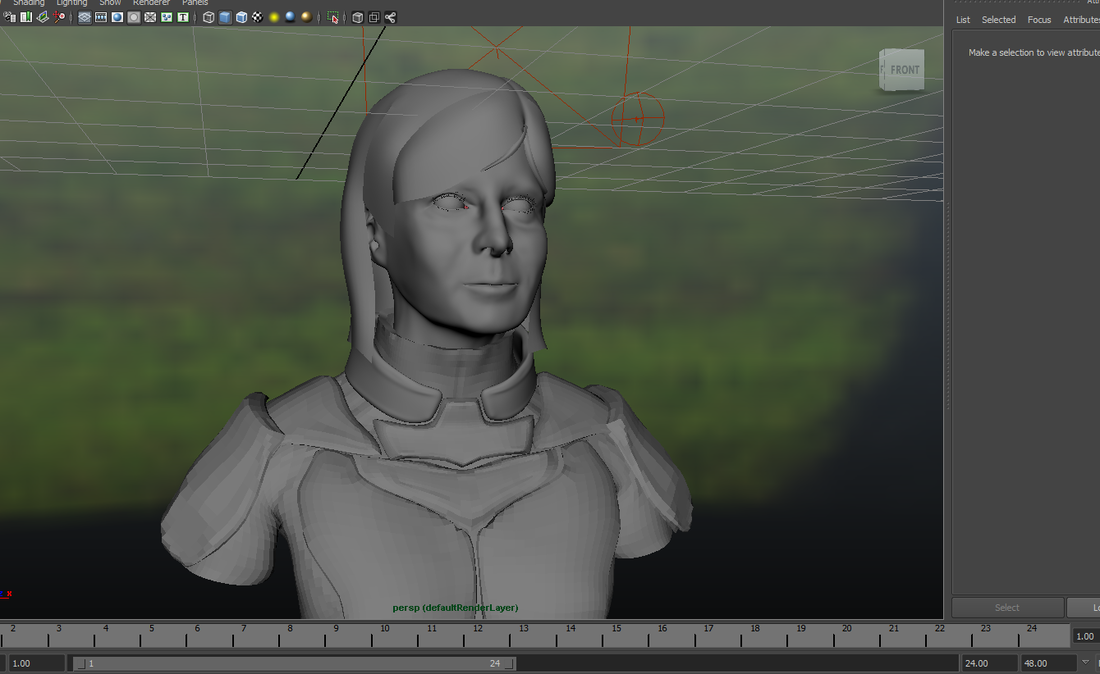
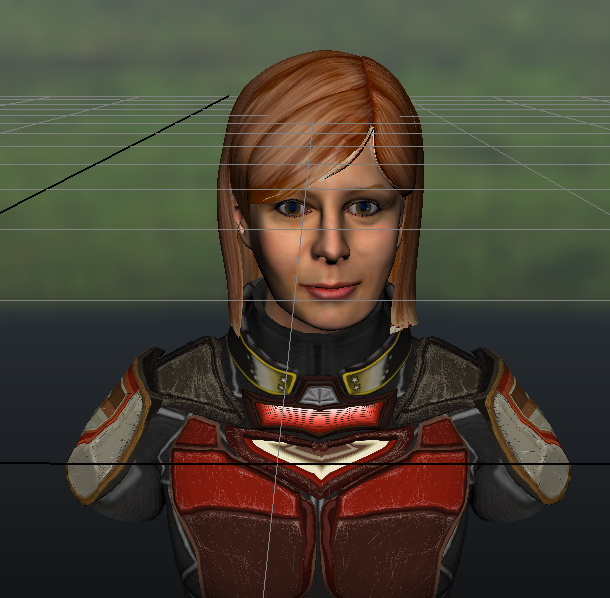
This is my result of a Full-processed face of a friend. Esther, who wanted to help me in this project. I got this result in Maya, using Mental Ray and I spent 2 weeks for the face and hair, and one more week for the armor and also some details I changed.
The first fact of using 3D scanner, when this scanner is a low-budget scanner, don't expect a miracle! I worked at a company where we had a big scanner, built from a white light scanner with 4 sides and we were having a full-body scan, but the resolution of Kinect and this big scanner (wich was more expensive than 6.000€ for sure) It was much more expensive, but the post-processing was reduced drastically.
Both, expensive and cheap, needed at least an organic modelling to retouch nose, eyes, ears and mouth, but it gave the essence, the general proportions of our character or portrait.
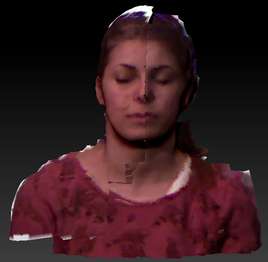
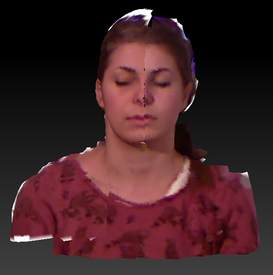
I have to say, I am quite impatient, so I never waited till Skanect was finished, so I tried their first program in Mac I could use, starting the last Oct 2012. Having a software wich was not making the allignment quite well, so I decided to take different takes from each side of the subject, but I guess at the new software released at 2013 is solved. This time I took the two sides of my friend on a 3/4 view, never a complete Profile. I took profile textures later with a reflex camera, to support the RGB information taken from the Scanned data, wich looks like the pictures above.
|
With the projected photo information, the raw model would look like this. Not so bad right? Well, afterwards I was sculpting the model, so I could give approximately the right shape for this portrait, photo references are really usefull, wich I took after taking these scans. But after taking these photos I understood why all good scanners are based into frontal lighting, because afterwards, you have to remove the shadows.
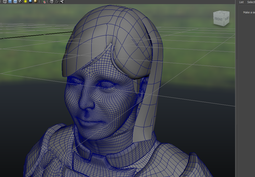
So, at this point we had to attempt - Process the .ply archive into Meshlab or Rapidform and translate into .obj with textures and these files had to be merged and retopologized into 3Dcoat or topogun, maybe Zbrush so we can have just one mesh to be sculpted and also re-textured with fresh and nice Uvs. |
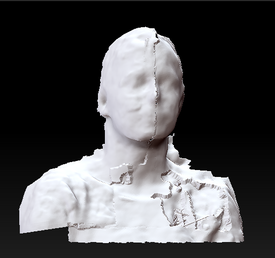
Statue - 1st stage doneThis is how it looks after making some modelling and also cleaning a bit all these imperfections, noise of our cheap 3D scan. After this stage you have to open the eyes and remodel it again, but it is not so easy as it looks because is the most important part of the face and people will ever have the first look at the eyes of our portrait.
You can open the mouth as well, you always need to have a closed mesh, it is much easier to handle into organic-modelling software such as Zbrush or mudbox. On the last stage, you need to create the hair, transform this flat hair from the scan into something with volume, create eyelashes. And its quite nice with a SSS, good lighting, and some clothes on. Nothing you've never seen at other tutorials. |
